Before attempting to learn how to charge an a/c system, you need to have your Section 608 Technician Certification Type 2, or Universal. There’s lots of different equipment out there, and if you want the real answer on charging an air conditioning system, I might tell you to charge the unit according to manufacturer specs. But if you want to see how I charge a central a/c system, continue reading.
Before Charging a Split Air Conditioning Unit
There are several steps that should be taken before attempting to charge an a/c system. These are:
- Making sure your equipment is calibrated, gauges, temp meters
- Verify that your air flow is good, clean filters, coils, proper duct size
- Outdoor temperature above 60 degrees F for air cooled systems and above 70 degrees F indoor temperature
- For the purpose of this article, I am assuming any refrigerant leaks are fixed and the system is properly evacuated. Refrigerant leaks should be fixed prior to charging a system. Although I know that ‘gas and goes’ happen all the time in this industry.
If you know all of these are good go ahead and skip to Charging a A/C System.
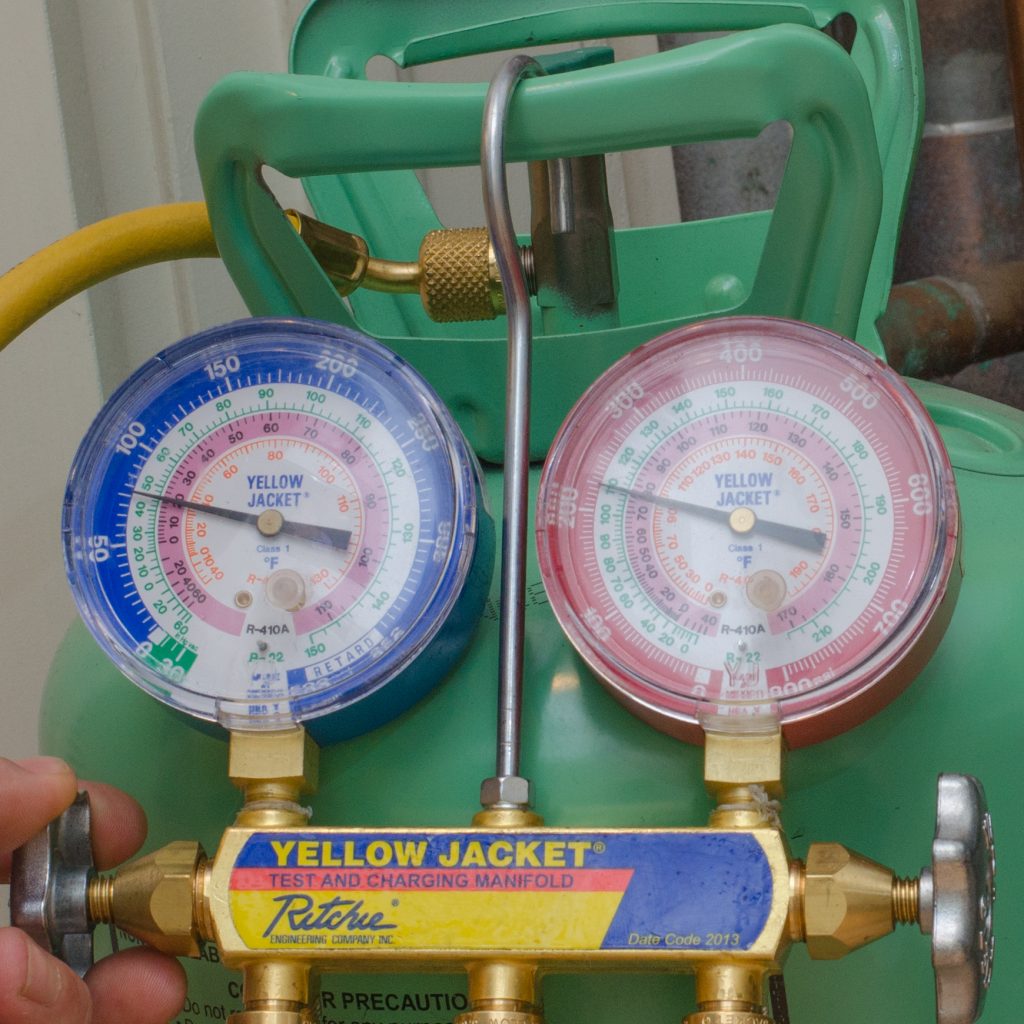
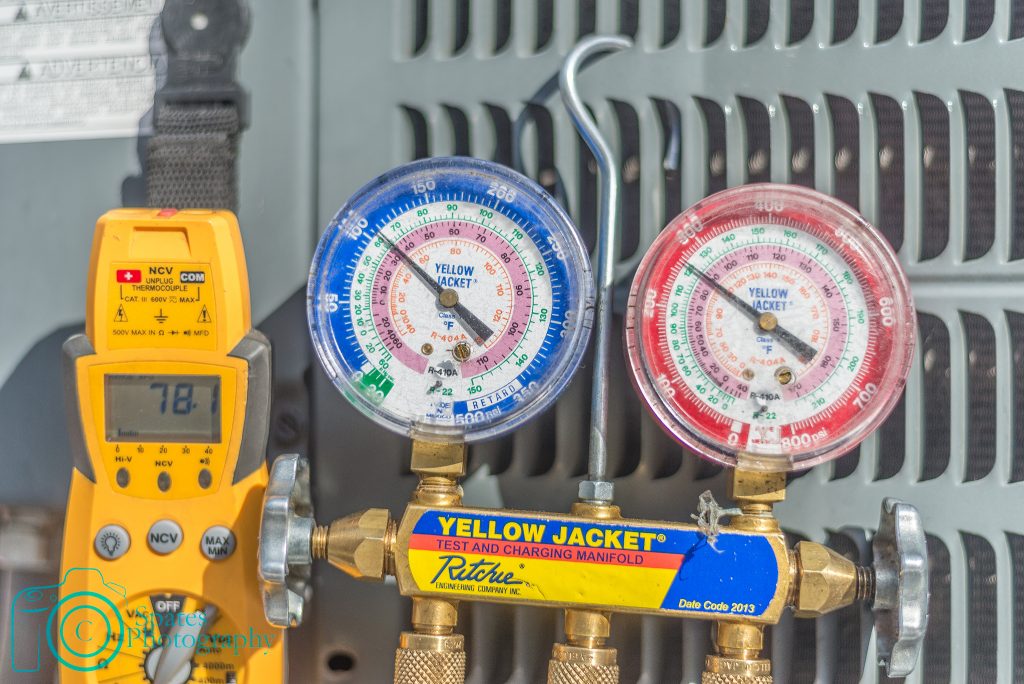
Calibrating Manifold Gauges
First thing you need to do is make sure that whatever type of gauges you are using are calibrated. If you are using digital gauges you can just ‘zero’ the gauges out to atmospheric pressure, and from there you are good to go. But what if you have regular manifold gauges that aren’t digital?
Several hvac technicians that I’ve worked with have been trained to set there gauges to zero. This is done by adjusting the flat head screw underneath the face-plate of the gauge. You can either remove the face-plate by unscrewing it, or some may come with a small rubber insert that pops in and out.
A more accurate way of calibrating manifold gauges would be to use the refrigerant method. Set a bottle of virgin 410a refrigerant in a room with a stable temperature, then hook up your gauges. Adjust your gauges to the room temperature.
How do you know room temperature is accurate? Use an accurate thermometer. Test the thermometer in ice water, should be 32 degrees F. Do the same thing with whatever thermometer your going to be using to measure the pipe temperature.
Verify Proper Air Flow
Verifying the proper air flow and equipment size is essential to reach a proper refrigerant charge. Let’s assume though that your hvac system was designed and installed according to Manual J, D and S. (Sorry, but it’s probably not….)
Thoroughly check that the air filter and evaporator coils are clean and nothing is obstructing the air flow. Walk through the home and ensure that ALL supply vents are fully open. Many ‘hack’ hvac techs like to close random vents to try and force more air into another room. Don’t do that. Make sure the condenser coils are also clean and free of debris. Once this is all verified, lets discuss how to charge an a/c system.
Superheat or Subcooling?
Determine the air conditioning systems metering device. If your system is using a fixed orifice such as a piston, then charge by superheat. (More common in older systems) Most newer units though, use TXV’s or TEV’s, in this case you want to charge by sub-cooling. When adding refrigerant to a system, ensure that you pressurize your gauge hoses with refrigerant, and purge out the air before introducing refrigerant into the system.
Charging a A/C system by superheat
- While the unit is operating, measure the dry bulb temperature at the condensing unit.
- Measure and record the indoor wet bulb temperature at the evaporator coil.
- Go to your superheat table, look for your outdoor drybulb and indoor wetbulb temperature where they intersect. This will be your target superheat.
- Hook up your accurate refrigerant pressure gauge to the suction port, or fitting, on your suction line. Look on your gauge (or P/T charge if your gauges don’t have this) to get your saturation temperature. (ex. for R22 68.5 psi = 40 degrees F)
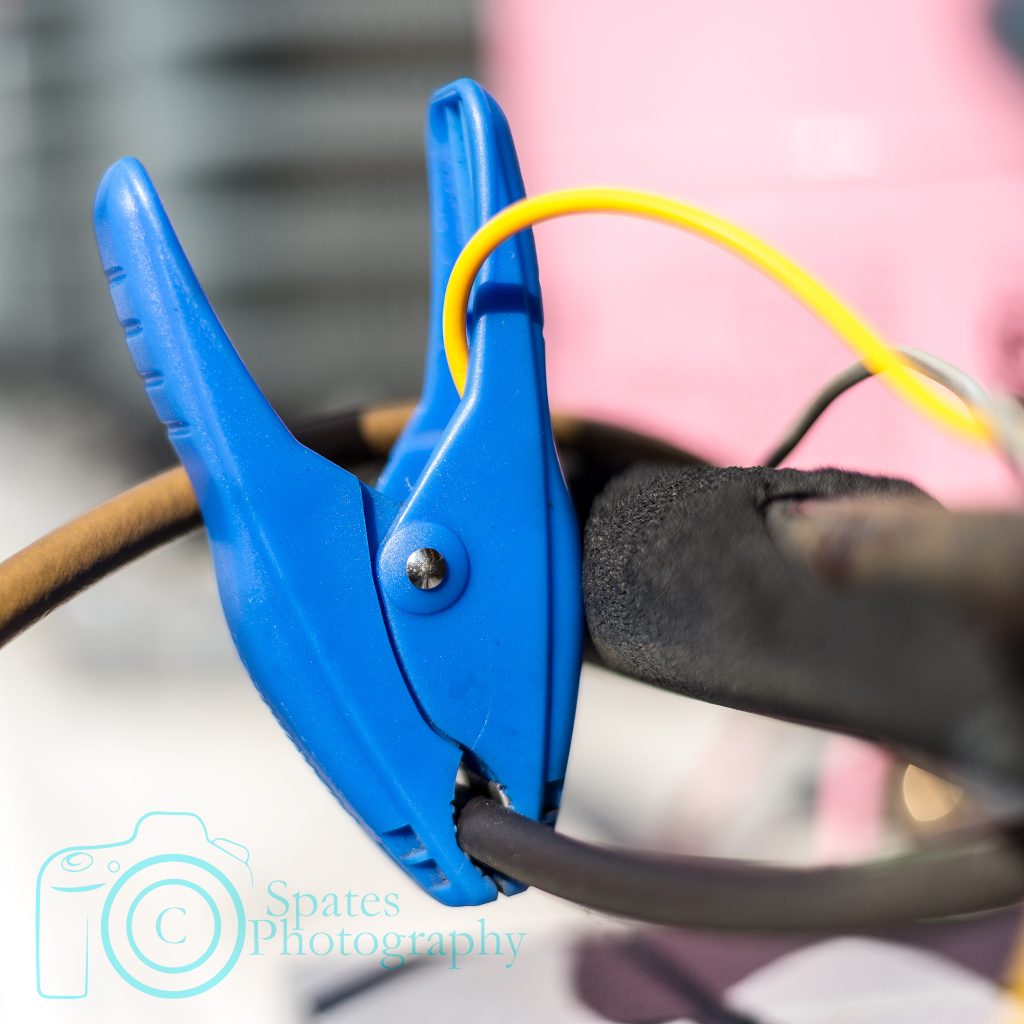
- Take the temperature of the suction line with your accurate thermometer. If you have a temperature clamp, clamp it on the side of the pipe, thing 10 and 2 o’clock. If you have a temp sensor, you can use electrical tape to wrap it. Good hard contact is crucial for an accurate reading.
- Your suction line temperature, minus your saturation temperature, equals your ‘superheat’.
- If your superheat is too low, the system is overcharged. If the superheat is too high, then the system is undercharged, add refrigerant.

Charging a A/C system by subcooling
- Determine your target subcooling. This is usually displayed on the back of the nameplate, located on your condensing unit. If not, 10-15 degrees F will get you ballpark range.
- With the unit running, connect your high side refrigerant gauge, to the liquid line port, or fitting. Record the pressure, and convert it to saturation temperature, via P/T chart, or most likely, your refrigeration gauges.
- Measure the temperature of the liquid line, with your temperature thermometer, either by clamping, or securing the probe to the pipe with electrical tape, or strap of some sort.
- Subtract your liquid line temp from your saturation temp, this is your subcooling
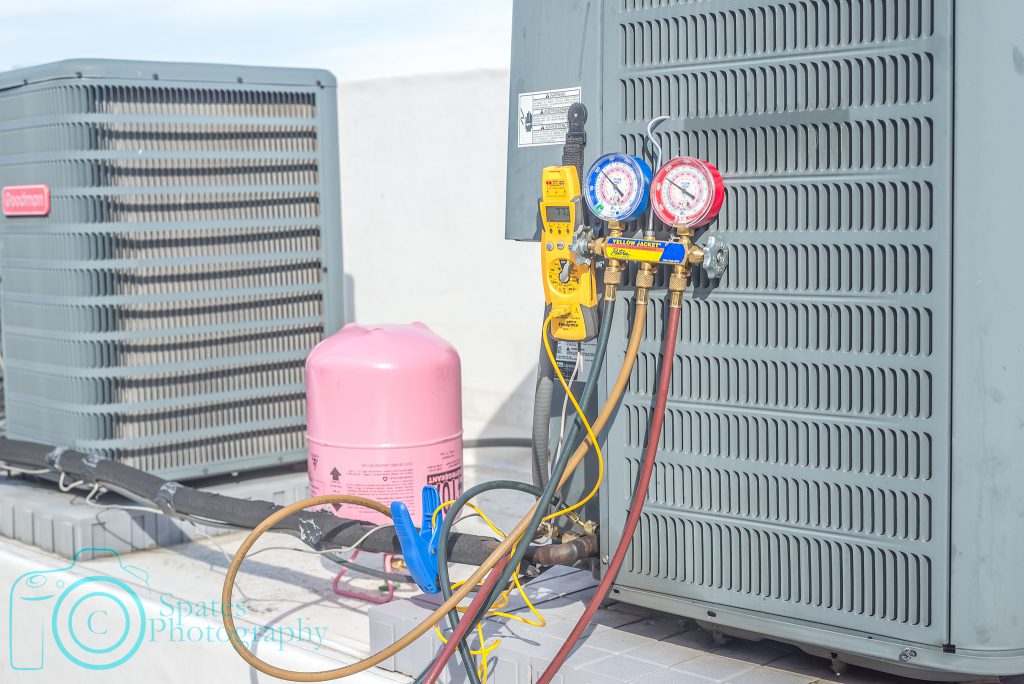
Charging a A/C System by Weighing in Refrigerant
On a system that is empty of refrigerant, and fully vacuumed, you may want to charge the system by weighing in the refrigerant. This is done with a highly accurate scale, such as a refrigerant scale. The amount of refrigerant to accurately charge the a/c unit should be displayed on the nameplate. This is also normally good for up 15 feet of line set, check with your manufacturer though to be sure.
Weighing in Refrigerant with a Digital Scale
This is how I do it.
- Zero out your digital refrigerant scale
- Hook your manifold gauges onto something so they are stationary, this is the key for an accurate weigh in. Moving the gauges up and down will slightly effect the weigh-in swings.
- Connect your charging hose to the refrigerant bottle.
- Close the valves on your gauge manifolds, open the refrigerant bottle and then place the refrigerant bottle on the scale.
- Purge the air out of your gauge manifold
- Zero out your digital refrigerant scale again.
- Open the suction valve to your gauge manifold and charge to manufacturer specs, until desired weight is reached on scale.
If you are charging an a/c unit with a line set longer than 15 feet, such as at a high rise or condo, then you can fine tune the charge with super heat or subcooling.
Some manufacturers will call for .06oz per 1ft of 3/8″ liquid line set, if you are a number cruncher and would prefer to do the math. This depends on if you know how much extra line set you have, AND what the manufacturer has documented.
If you are just finishing a repair, after triple evacuation, you need to break the vacuum with refrigerant before turning on the unit. The compressor should never run while in a vacuum.
410A Charging and R22 Charging Tips
- Make sure you get air out of your refrigerant gauge hoses before charging a air conditioning unit.
- Target subcooling may be between 10-15 degrees F, depending on the manufacturer specs. Target superheat may be between 12-20 degrees F. These are just ball park number ranges to get you close, units should be charged in accordance with manufacturer specifications. Sometimes the manufacturer will put a charging chart on the back of the condenser control access panel to make life easy.
- Always check the nameplate before adding refrigerant. Check for stickers just in case at some point a drop-in refrigerant was used.
- Charge 410a systems with liquid, by turning the refrigerant bottle upside down. 410a is a refrigerant blend and stays together better in liquid form verses gas.
- When charging with 410a, go SLOWLY. There are metering ports that can also be used. It’s very easy to overcharge a system when charging with liquid, it can also damage compressor if liquid refrigerant makes it to the compressor.
- Low-loss fittings are great. Use them on your manifold gauges, especially on your high side hoses.
- There are several digital manifold gauges that will calculate superheat and subcooling for you. Some will even send you reports and stuff. These are expensive but most of them work pretty well and can make your job easier.
- Check out different apps on your phone or smart device. Many have built in refrigerant charts to make charging a air conditioning unit more simple. Very useful if you are dealing with drop-in refrigerants.
- The evaporator coil temperature for 410a is going to typically be higher than R22 coils.
- Don’t charge to ‘Beer can cold’. Especially with 410a. Trained Hvac technicians know better than this. Lots of apartment maintenance technicians do this because they don’t know any better. If you charge to ‘beer can cold’, you’re just shortening the life of the air conditioning system and costing your company money, or yourself money. Don’t be that hvac hack.
If you follow these steps on how to charge an A/C system, and the system isn’t cooling properly, then you need to further troubleshoot.
I need 410a refresher.
Hey, I read your article and your information are great and amazing. it is so much helpful for me. Thank you so much:)